

Then we have the Jagdpanzer 38 (t) Hetzer


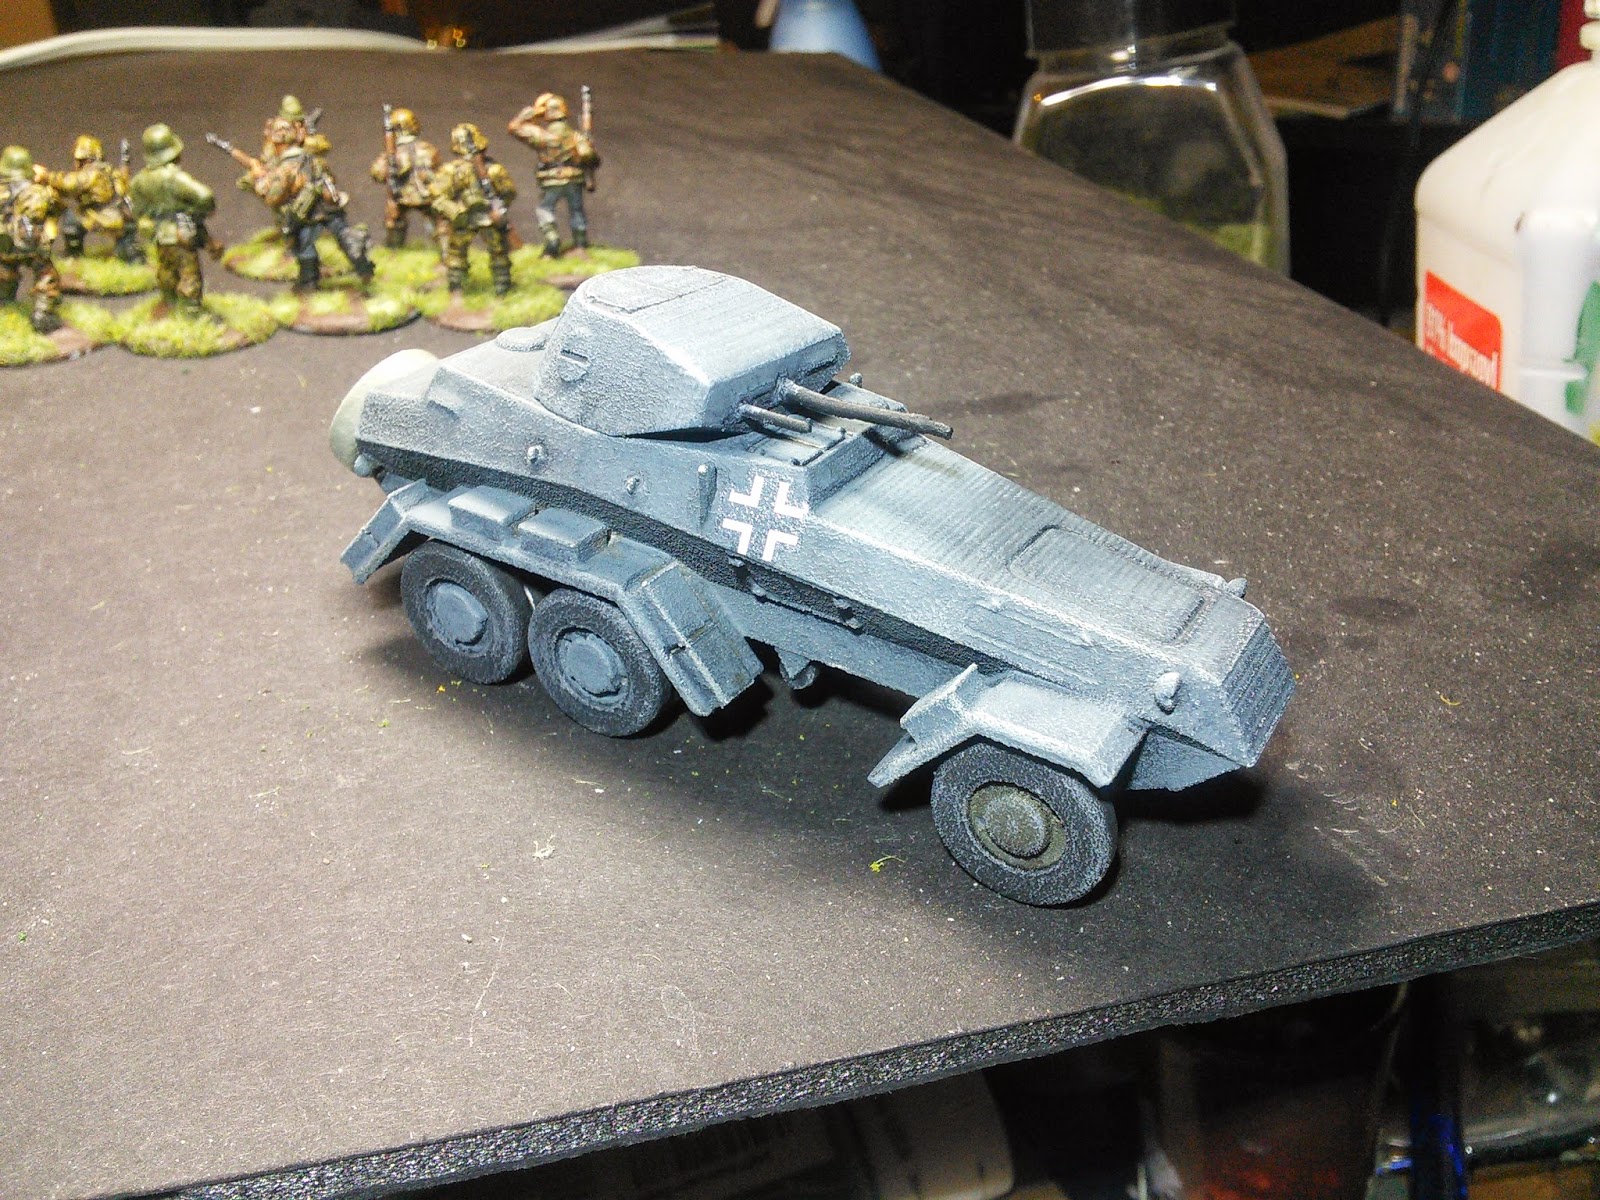
The 3D Printed 6RAD from Shapeways

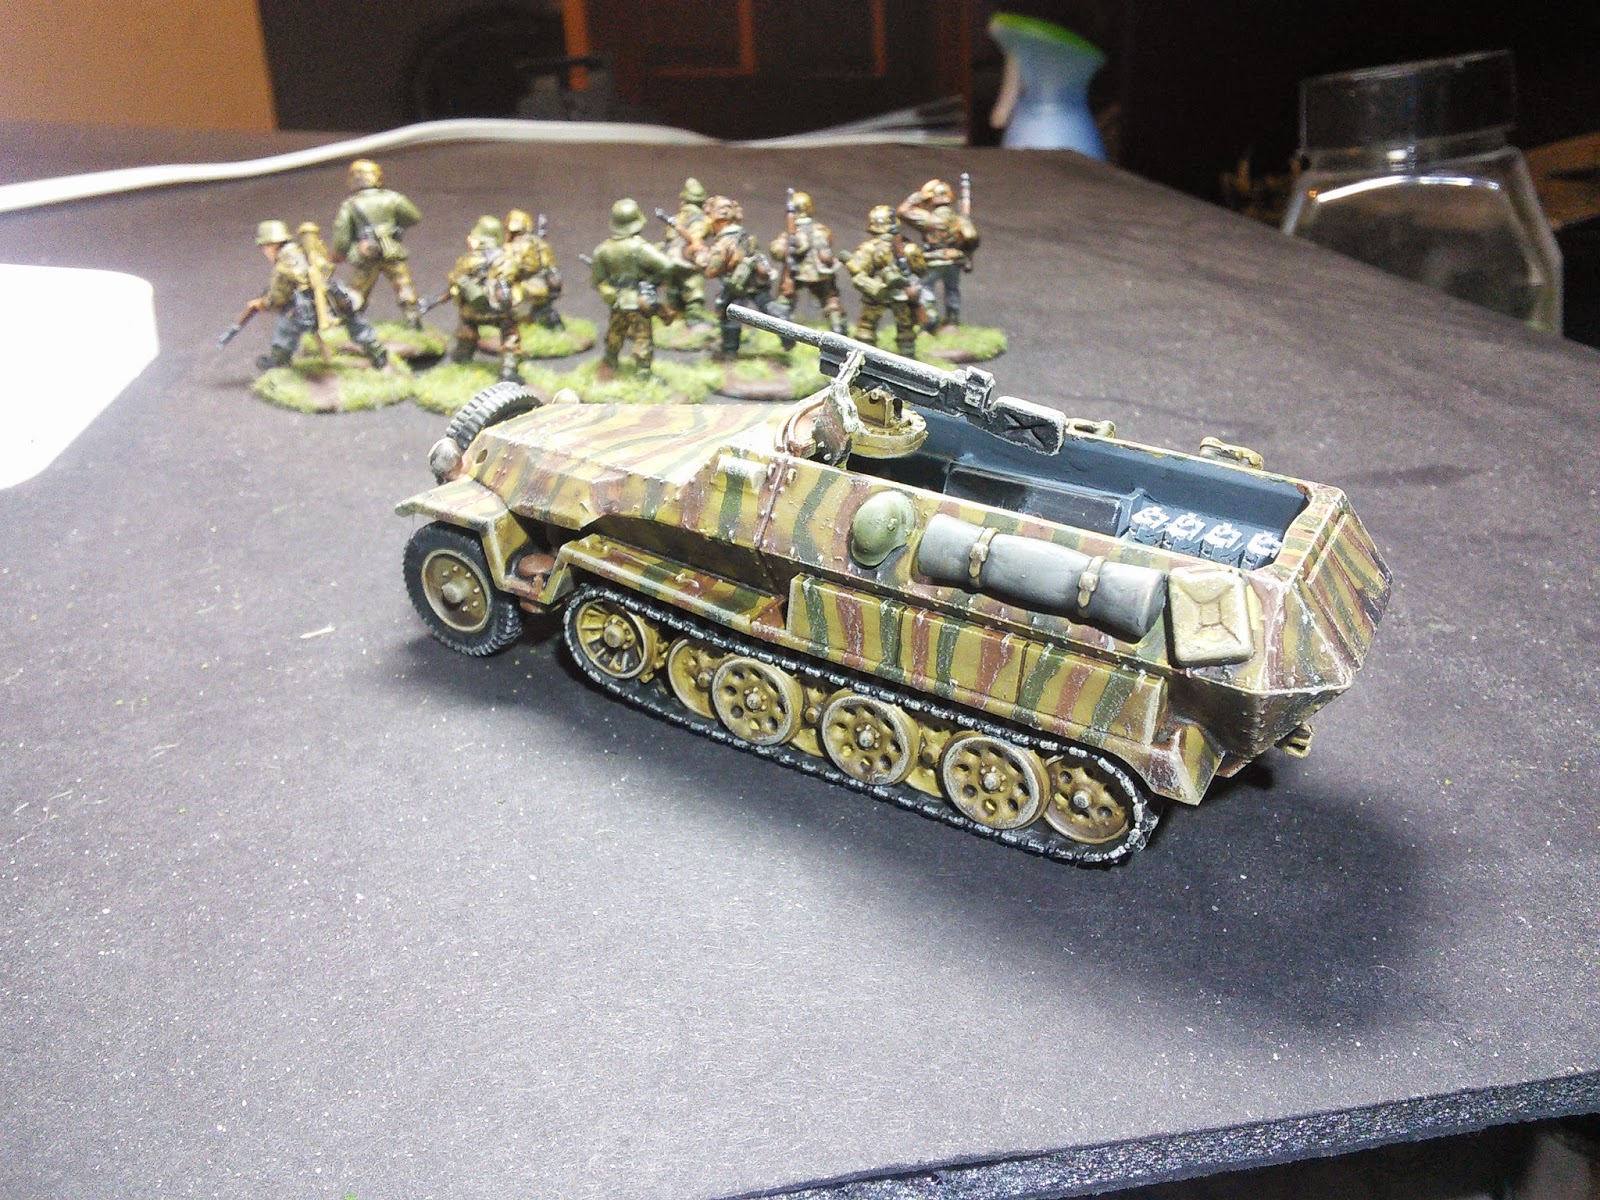
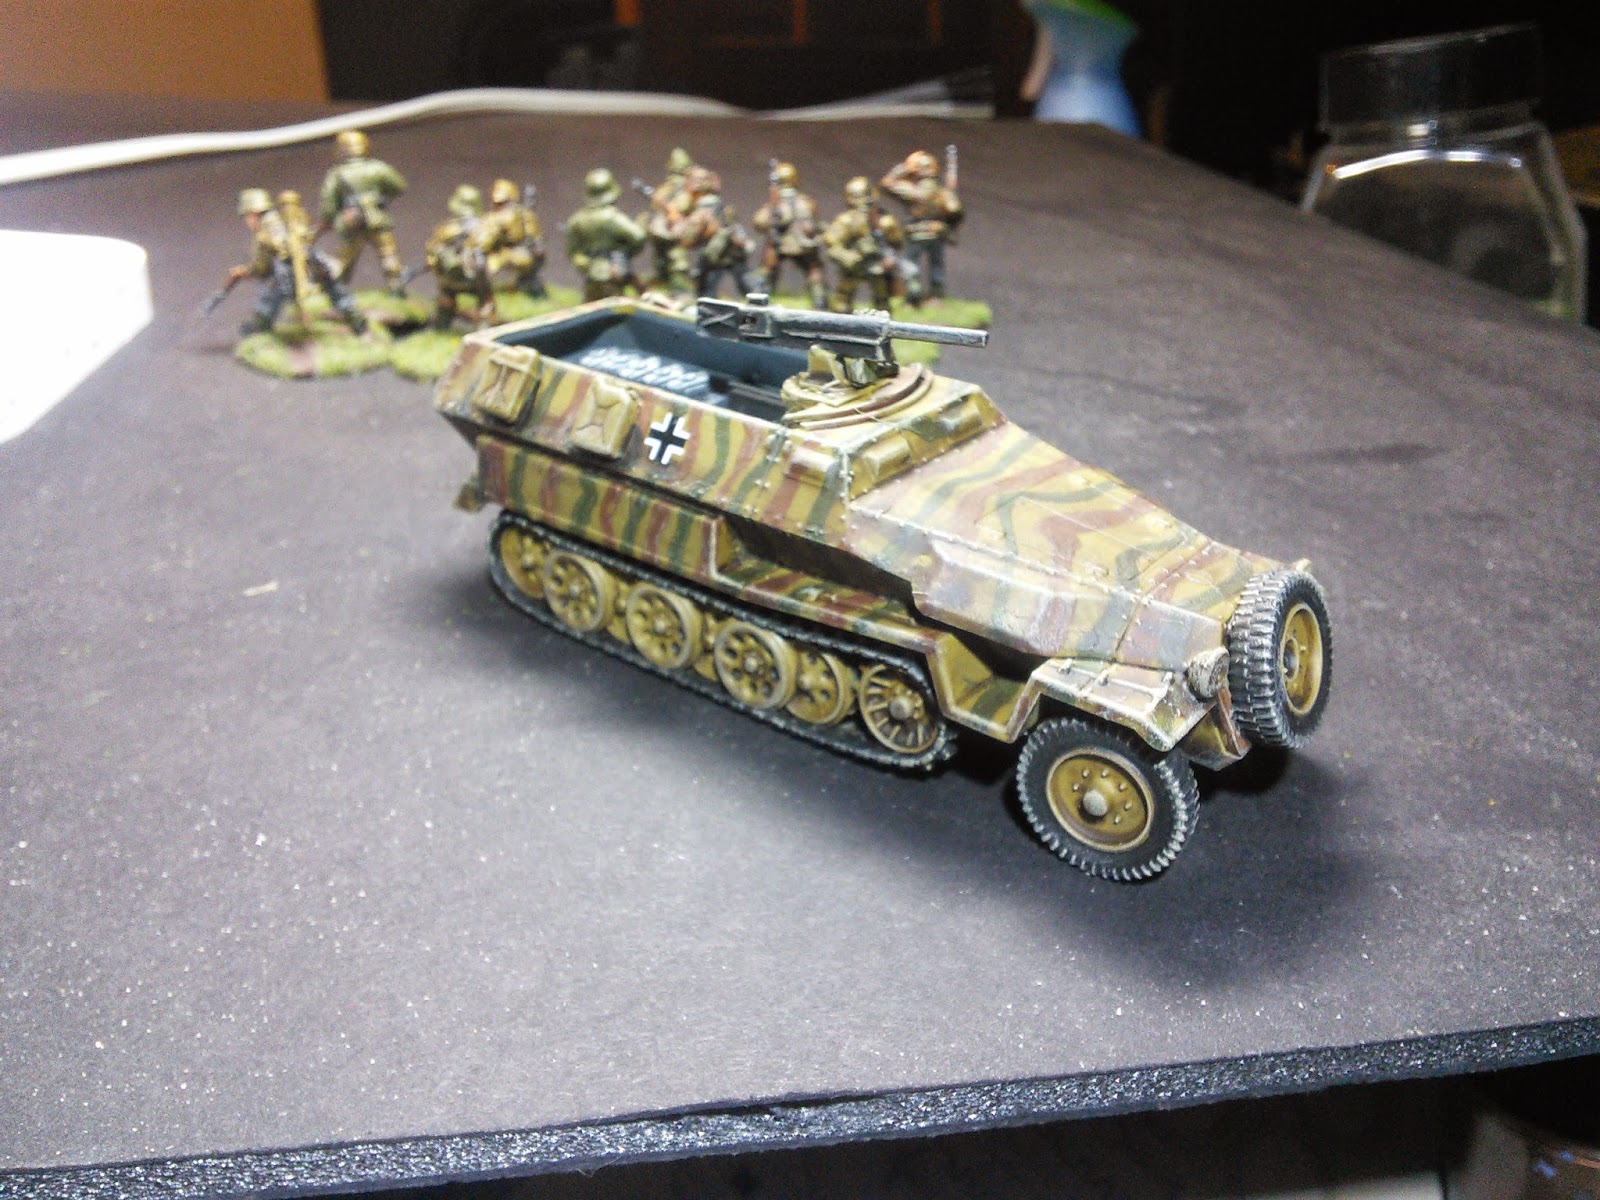
And finally the SdKfz 251/10
Until Next time, and a hopefully some more squads done!


 Hi Everyone, my latest piece is a USMC Sherman named Colorado, and is based on a vehicle that fought in the Battle of Tarawa, and today I'll talk a little bit of history, and how I built the model.
  For this build I had to make a few compromises, as no one makes the M4A2 variant used by the Marines (To my knowledge), and due to time constraints I was restricted in how much work I could do to modify an existing kit. As such I decided to use Warlords plastic M4 model, and remove the applique armour, partly as it was simple, and partly because it was a good excuse to add the plastic Sherman to my collection!
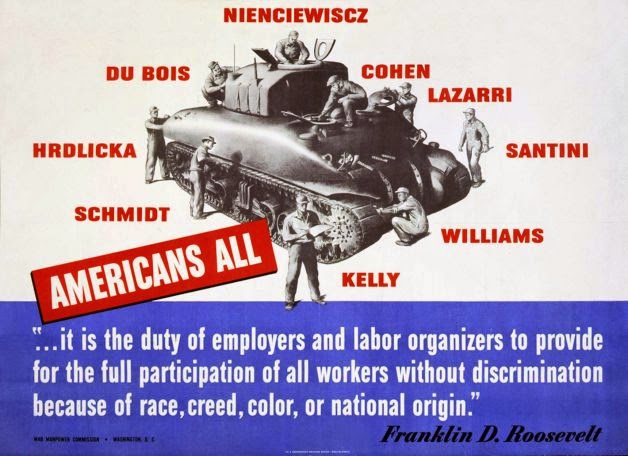

 To remove the armour plates on the sides of the hull and turret I used a fine razor saw to carefully trim them away, then sanded the area smooth with increasingly fine grades of sandpaper.
  After giving the model a couple of hours to dry I Mixed up a glaze with Pledge multisurface floor wax and brown violet and misted this lightly onto the tank to tone down the highlights and key all the colours in. The model was again put aside to dry for a few hours.
 I use Grey Automotive primer for all of my models. Others are available but in terms of resilience of finish and reaction to the following layers you can't beat it. There are many types available but I use one from a company called SuperDec from my local hardware shop, and costs around £4 a can.
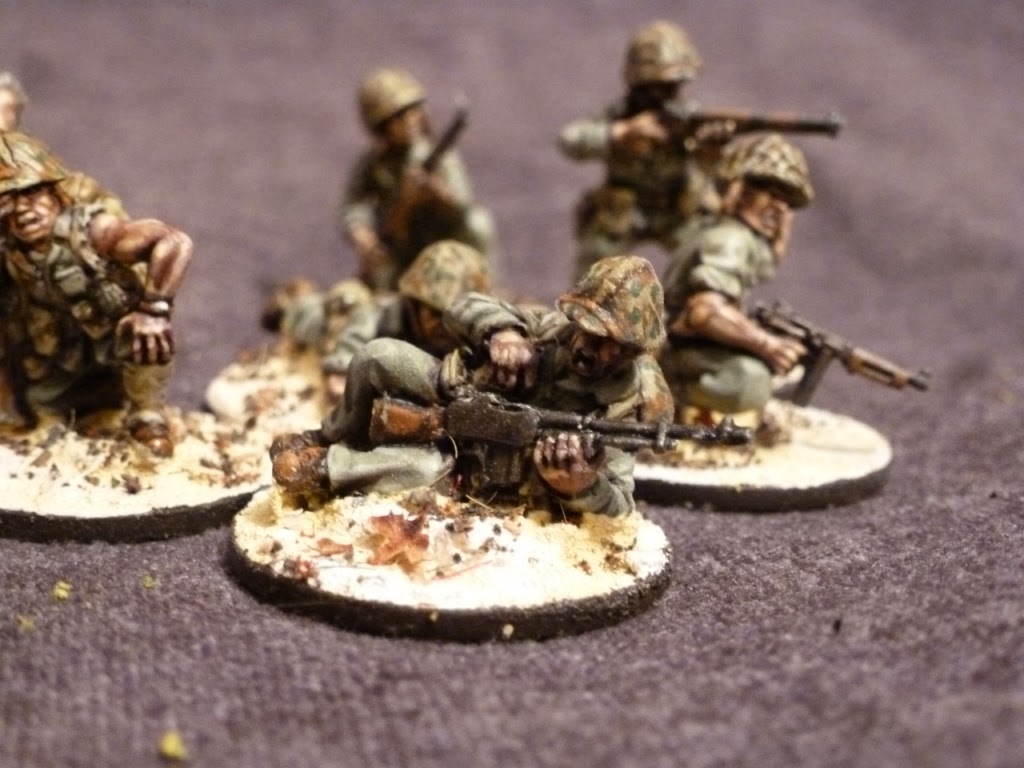
 After leaving the figure to fully dry, which can take several hours, go back over the figure with the colours used in stage 1, but restrict those tones to painting them on the raised areas, leaving the shade in the recesses. I'd also recommend not going back over the metallic areas again, as we will be making that almost black ultimately.
  Once you have done the base layers again mix in some white until you are happy with the contrast, I won't give ratio's or percentages as everyone's tastes are different and I tend not to be too precise about this anyway. Paint this over the highlight areas, but in smaller patches than you did with the base tones, the effect you are going for is to create a set of graduated highlights up to a very pale tone, by mixing increasing amounts of white paint in, and painting smaller areas of highlight.
  Now you have the figure higlighted you can either stop here and go onto basing, or if you prefer use more inks and glazes to really bring the figure to life. At this stage I paint the flesh tones with a slightly watered down purple ink again, and use a paint Army Painter Green Ink over the uniforms.
 Step 6
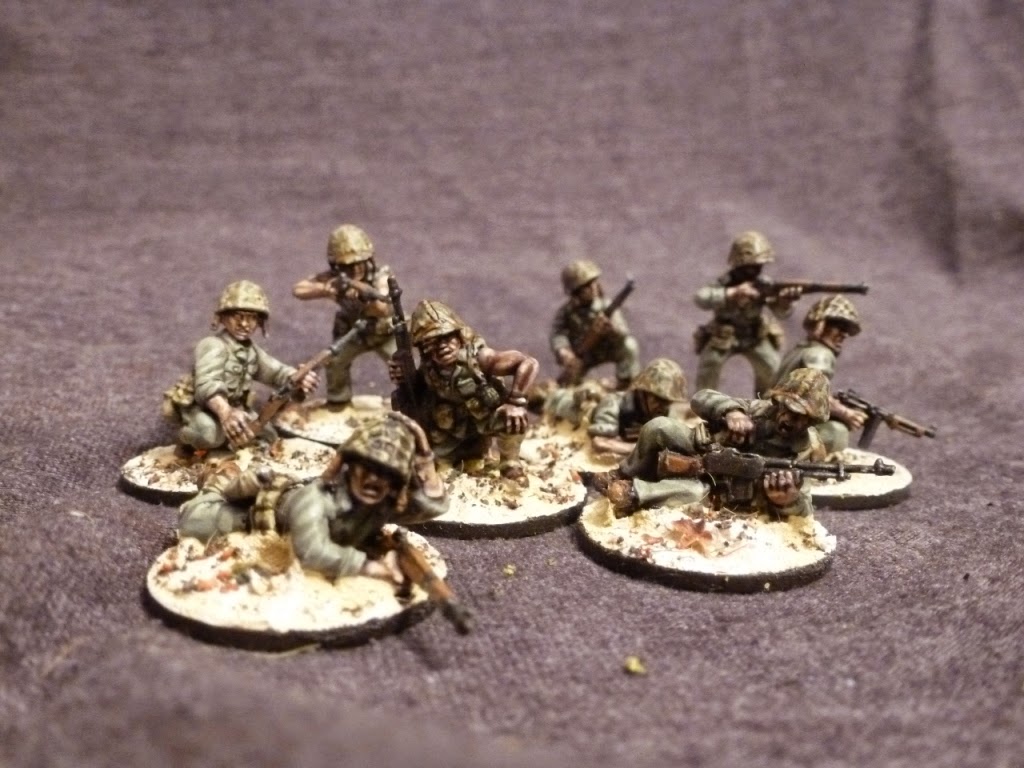
 At this stage I paint the camo pattern onto the helmet covers using Vallejo Yellow Olive and Flat Earth, and also do the eyes by painting them with the highest level of skin highlight, and then putting a dot of transparent blue paint in them. You can quite happily skip this step though as eye's can ruin a figure in my opinion if they are too large or visible.
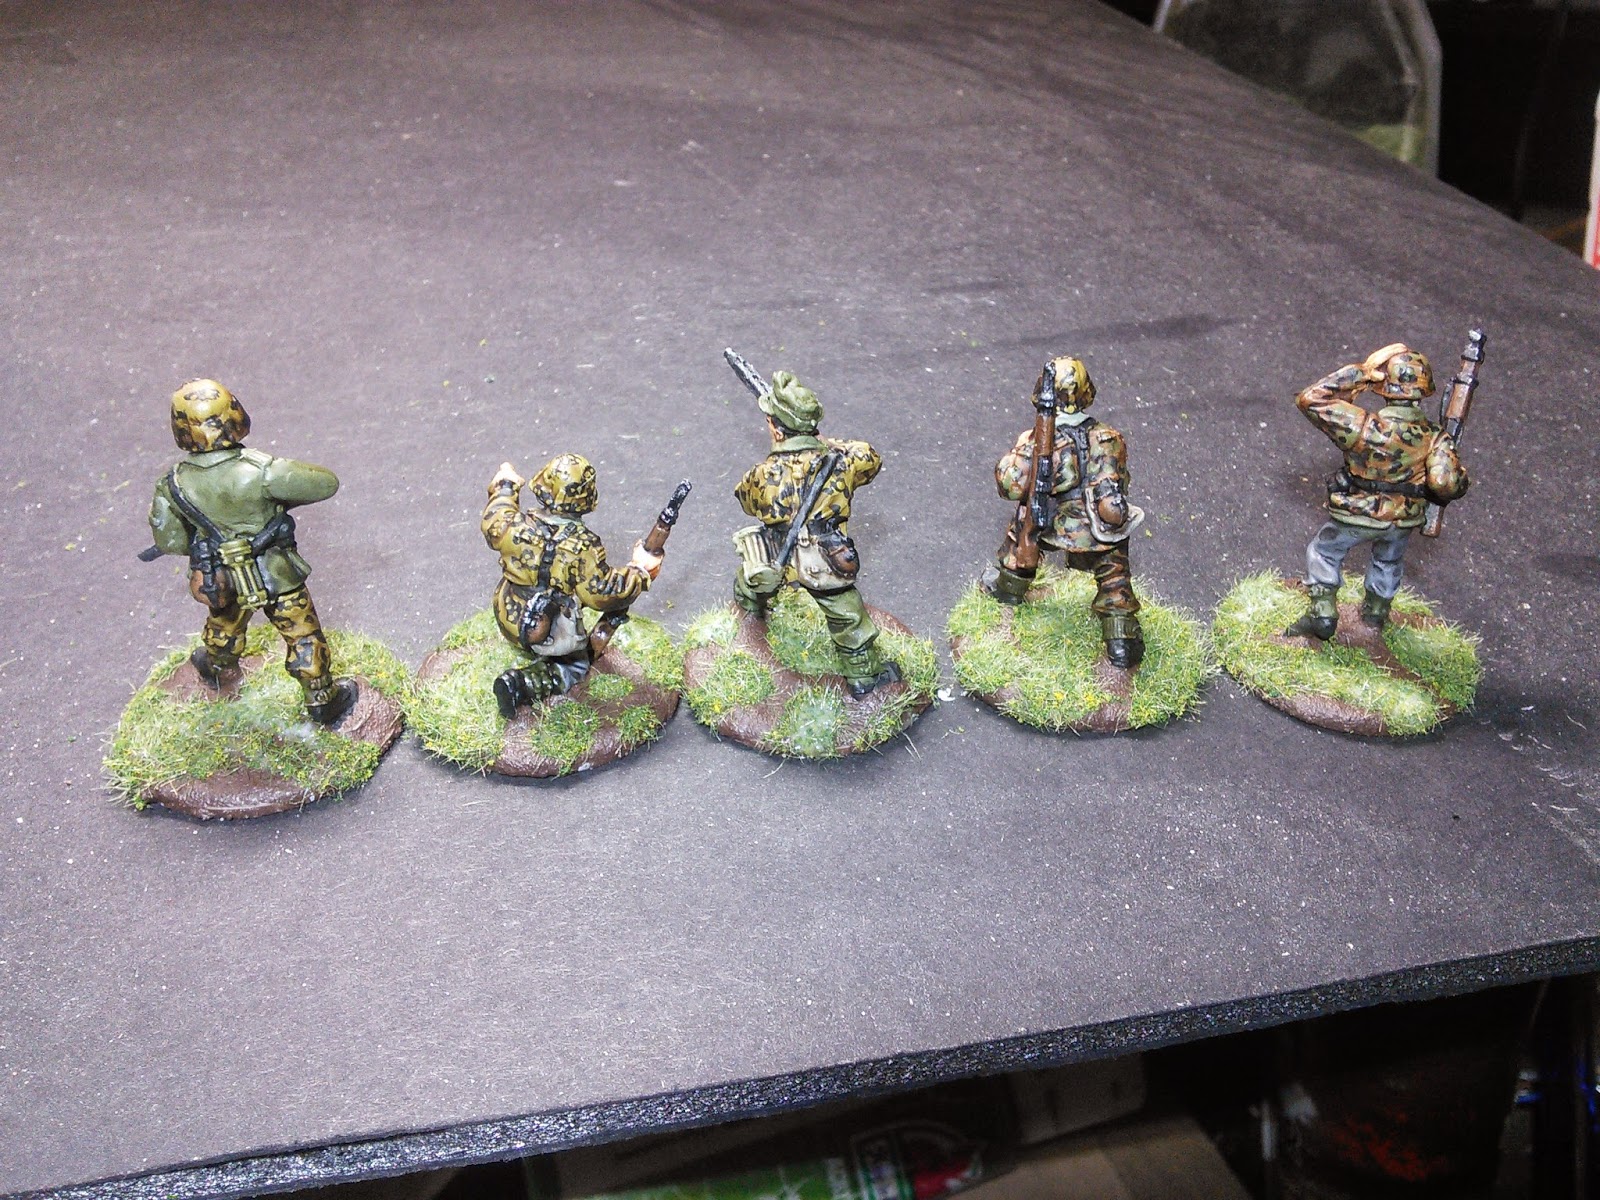
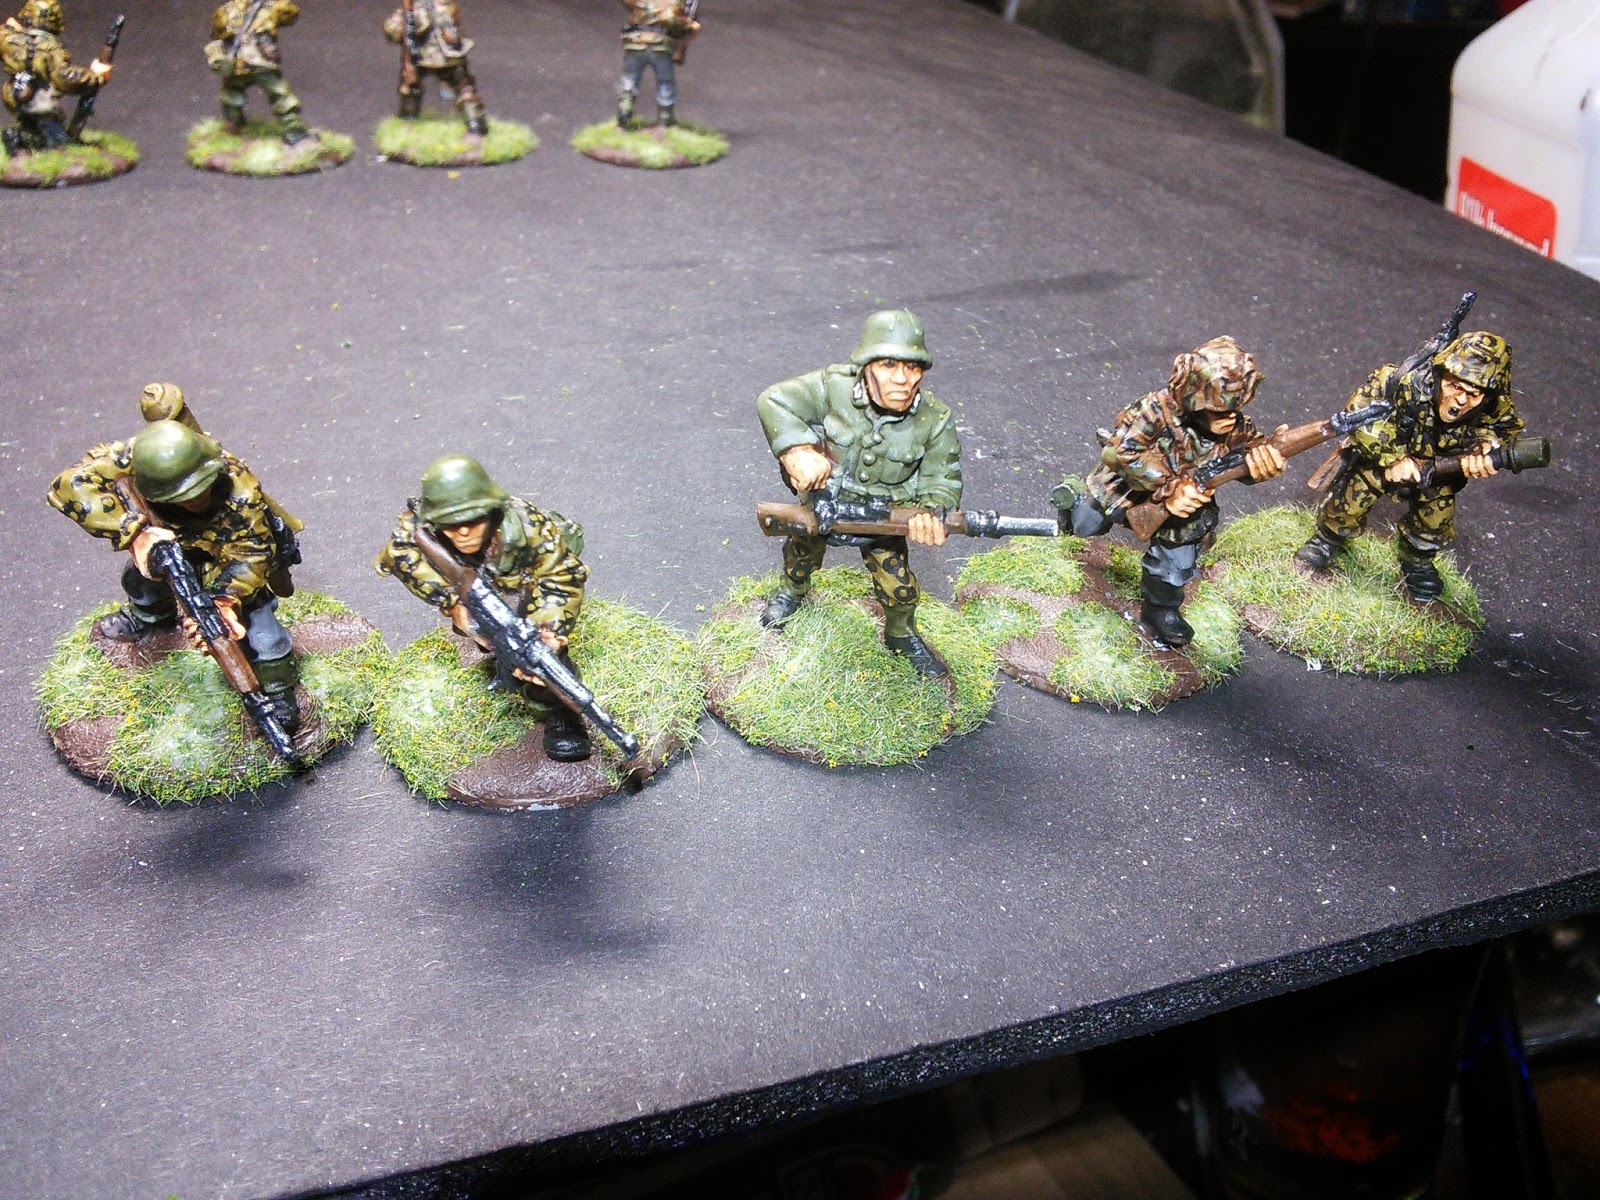
 First off we have Sam's Infantry. There are about 50'ish soldiers, including a mortar, MMG team, and sniper team. There is also a FT team in there and a mix mash of K-98 rifles, MP40's and STG44's. The miniatures are a mix of Warlord Games Waffen SS and BlackTreeDesign Waffen SS.


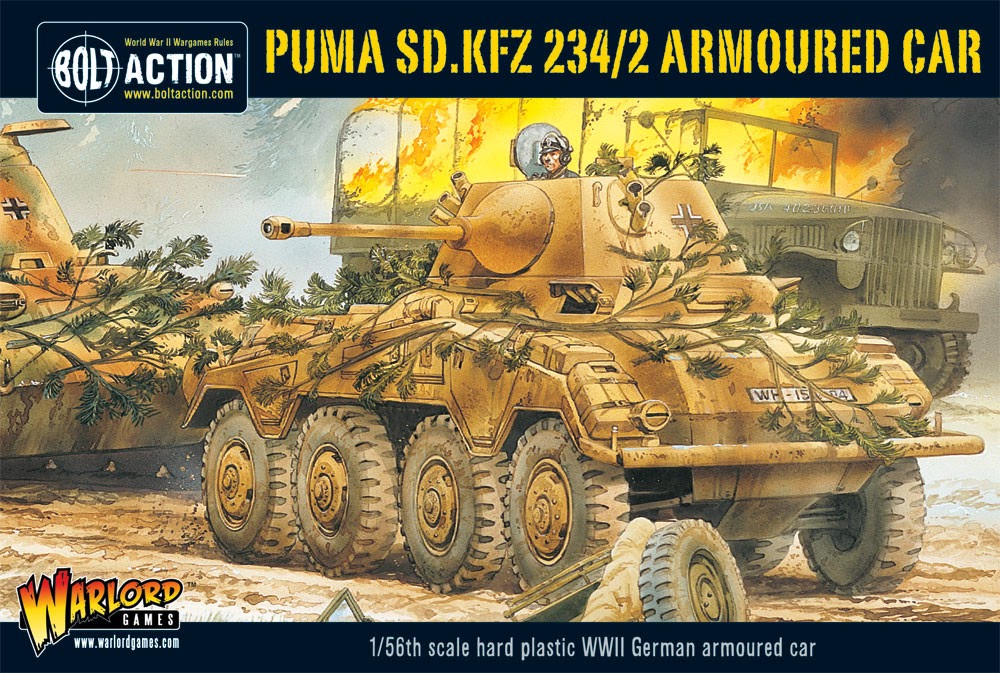 I thought I'd use my first post to take you through the inspiration for the army, how I went about deciding upon a list and finally show my first unit. The first, and always most important, aspect of an army I look for is theme. I am not a power gamer, and the rich history of WW2 is what really gets me passionate about a project. I wanted to do a unique army that perhaps we do not see much of on the table. Warlord and Italeri were kind enough to oblige me with a theme with the recent release of the plastic Puma. This beautiful piece of kit was used by only a small number of units in Normandy, which is my primary interest after studying it at University. As I wanted to paint figures that would both push my skills and be fun; I decided on the recon regiment of the 1st SS.


 I'm really bad at taking photographs so I am sorry about the poor quality. I have a new camera on the way which will hopefully help with this. I will also be able to take some video show cases of each squad; but this will wait until I have something more substantial to show. These guys have been abit of a learning experience for me. I have been forced to accept that for a force it is better to concentrate on units rather than individual figures; in the immortal words of fellow beardy, Andy Volleyfire;
 "Dude you have a deadline, stick to it, no excuses."
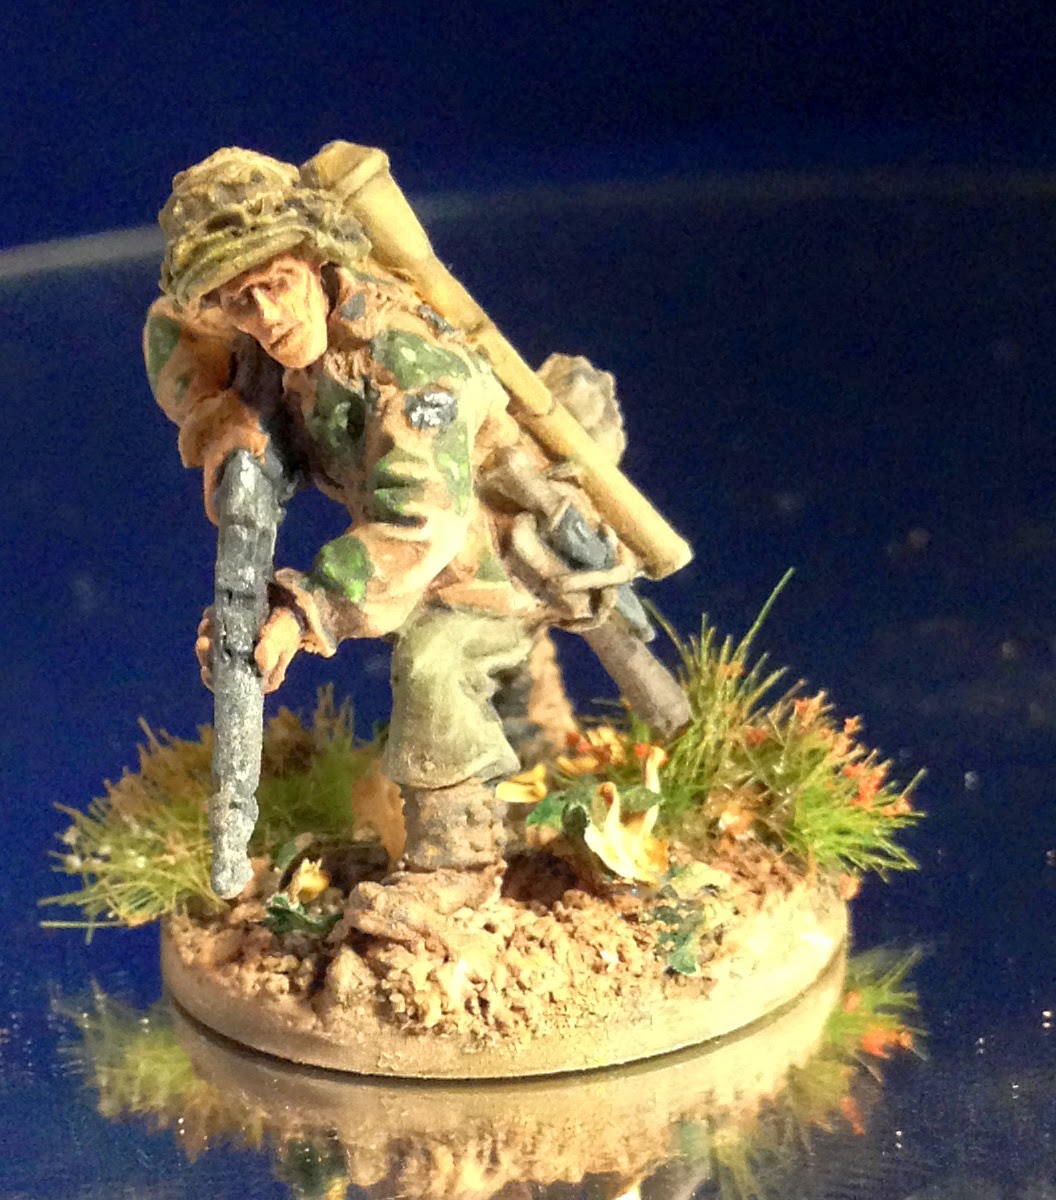 My next installment for this SS force will be in a fortnight; I hope to have a couple of more interesting things to show you then. Maybe a hanomag, Definitely some some more SS infantry. But with me, who knows? Hope you all had a great Christmas and New Year!